
Ça vous dit un jeu très simple. Que va-t-on choisir ? Ah oui le jeu de la vie de Conway. Ça vous dit quelque chose ? Oui ou peut-être pas. C'est l'exemple parfait pour créer votre premier jeu avec JavaScript. C'est un univers évolutif de zéro joueur. Chaque partie dépend de l'état initial de départ. Bref, c'est un jeu composé de cellules.
Si nous traduisons le schéma du jeu, on aura ça :
- Si une cellule à plus de trois voisins, elle meurt
- Si elle a moins de trois voisins, elle meurt aussi
- Si une cellule morte à 3 éléments près d’elle, elle prend vie
- Dans les autres, elle reste inchangée
Donc, nous, ce qu’on va faire, c’est essayer de traduire ça en JavaScript.
Ce que nous allons implémenter
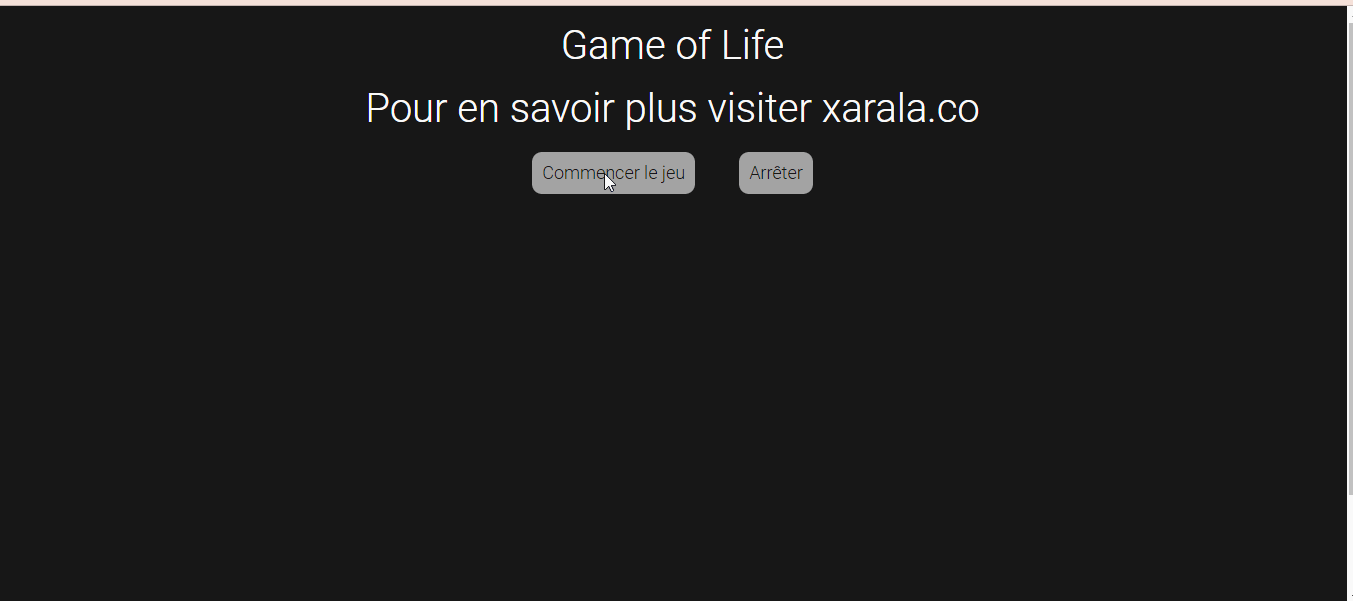
Nous allons créer un titre et deux boutons : l'un pour lancer le jeu et l'autre pour l'arrêter. Pour cela nous allons créer des fichiers hiérarchisés Gameoflife.js pour les classes et index.js pour la page d'affichage.
<body>
    <h1>Game of Life</h1>
    <div class="buttons-div">
        <button id="start-random">start Random</button>
        <button id="stop">stop</button>
     </div>
     <canvas id="gamefield" width="1400" height="500"></canvas>
</body>
<script src="GameOfLife.js"></script>
<script src="index.js"></script>
Pour embellir la vue, nous allons utiliser un fichier CSS, voilà ce qu'on aura :
*{
    text-align: center;
    background-color: #181818;
}
h1{
    font-size: 40px;
    color: White;
    margin: 0px;
    margin-top: 15px;
    font-family: 'Roboto', sans-serif;
    font-weight: 300;
}
.buttons-div > button{
    background-color: rgba(255, 255, 255, 0.6);
    font-family: 'Roboto', sans-serif;
    font-size: 18px;
    padding: 10px;
    border: none;
    border-radius: 10px;
    margin: 20px;
    font-weight: 300;
    outline: none;
}
Nous allons ensuite implanter dans notre fichier index.js un canvas :
const canvas = document.querySelector("#gamefield")
const ctx = canvas.getContext("2d")
Dans notre fichier Gameoflife.js, nous allons déclarer notre classe pour définir la logique du jeu. On aura ça :
constructor() {

        this.cell_size = 5;
        this.dead_color = `#181818`;
        this.alive_color = `#FF756B`;
        this.cells_in_column = Math.floor(canvas.width / this.cell_size);
        this.cells_in_rows = Math.floor(canvas.height / this.cell_size);
        this.active_array = [];
        this.inactive_array = [];
Les fonctions
Qu’est-ce qu'un code sans fonction ? Du charabia ! Oui donc nous allons ordonner nos fonctions comme suit :
  this.arrayInitialization = () => {

            for (let i = 0; i < this.cells_in_rows; i++) {
                this.active_array[i] = [];
                for (let j = 0; j < this.cells_in_column; j++) {
                    this.active_array[i][j] = 0;
                }
            }
            this.inactive_array = this.active_array;

        };

        this.arrayRandomize = () => {

            for (let i = 0; i < this.cells_in_rows; i++) {
                for (let j = 0; j < this.cells_in_column; j++) {
                    this.active_array[i][j] = (Math.random() > 0.5) ? 1 : 0;
                }
            }

        };

        this.fillArray = () => {

            for (let i = 0; i < this.cells_in_rows; i++) {
                for (let j = 0; j < this.cells_in_column; j++) {
                    let color;
                    if (this.active_array[i][j] == 1)
                        color = this.alive_color;
                    else
                        color = this.dead_color;
                    ctx.fillStyle = color;
                    ctx.fillRect(j * this.cell_size, i * this.cell_size, this.cell_size, this.cell_size);
                }
            }

        };

        this.setCellValueHelper = (row, col) => {
            try {
                return this.active_array[row][col];
            }
            catch {
                return 0;
            }
        };

        this.countNeighbours = (row, col) => {
            let total_neighbours = 0;
            total_neighbours += this.setCellValueHelper(row - 1, col - 1);
            total_neighbours += this.setCellValueHelper(row - 1, col);
            total_neighbours += this.setCellValueHelper(row - 1, col + 1);
            total_neighbours += this.setCellValueHelper(row, col - 1);
            total_neighbours += this.setCellValueHelper(row, col + 1);
            total_neighbours += this.setCellValueHelper(row + 1, col - 1);
            total_neighbours += this.setCellValueHelper(row + 1, col);
            total_neighbours += this.setCellValueHelper(row + 1, col + 1);
            return total_neighbours;
        };

        this.updateCellValue = (row, col) => {

            const total = this.countNeighbours(row, col);
            // cell with more than 4 or less then 3 neighbours dies. 1 => 0; 0 => 0
            if (total > 4 || total < 3) {
                return 0;
            }
            // dead cell with 3 neighbours becomes alive. 0 => 1
            else if (this.active_array[row][col] === 0 && total === 3) {
                return 1;
            }
            // or returning its status back. 0 => 0; 1 => 1
            else {
                return this.active_array[row][col];
            }

        };

        this.updateLifeCycle = () => {

            for (let i = 0; i < this.cells_in_rows; i++) {
                for (let j = 0; j < this.cells_in_column; j++) {
                    let new_state = this.updateCellValue(i, j);
                    this.inactive_array[i][j] = new_state;
                }
            }
            this.active_array = this.inactive_array

        };
Dans la fonction arrayInitialization nous allons créer deux tableaux en 2D avec des zéros à l’intérieur.
Dans chaque fonction arrayRandomize nous allons créer une valeur un et zéro. La fonction fillArray nous permettra de définir des couleurs et de fixer l’emplacement de chaque cellule en fonction de son état.
Pour rendre cela fonctionnel, nous allons créer une couleur et lui donner une valeur alive_color si la cellule à une valeur d'un et dead_color si la cellule à une valeur de zéro.
Rappelez-vous que Ctx est le contexte de notre canevas que nous avons défini sur index.js.
La fonctionfillRect dessine le rectangle, il va prendre comme propriété :
- X placer au côté gauche du rectangle multiplié par la taille des cellules
- Y placer au côté gauche du rectangle aussi avec l’itinéraire i multiplié par la taille des cellules
- La largeur sera this.cell_size 5 xp
- La hauteur sera this_cell_size 5 px
On a presque terminé !
Mis à jour
Nous allons mettre à jour l’état en fonction des règles de notre jeu. À partir de la fonction updateLifeCycle nous allons retourner un nouvel état pour une cellule spécifique, ensuite nous allons attribuer sa valeur à inactive_array. Ce dernier sera affecté à alive_array.
for (let i = 0; i < this.cells_in_rows; i++) {
    for (let j = 0; j < this.cells_in_column; j++) {
        laissez new_state = this.updateCellValue(i, j);
        this.inactive_array[i][j] = new_state ;
    }
}
this.active_array = this.inactive_array
Le rôle de la fonction updateCellValue est très simple. En effet, il prend la position d’une colonne et la ligne pour renvoyer un ou zéro.
const total = this.countNeighbours(row, col);
// cell with more than 4 or less then 3 neighbours dies. 1 => 0; 0 => 0
if (total > 4 || total < 3) {
    return 0;
}
// dead cell with 3 neighbours becomes alive. 0 => 1
else if (this.active_array[row][col] === 0 && total === 3) {
    return 1;
}
// or returning its status back. 0 => 0; 1 => 1
else {
    return this.active_array[row][col];
}
Créer une fonction pour compter les voisins
La fonction countNeighbours son rôle est de compter les voisins. Dans chaque cellule, nous aurons ces éléments :
Une rangée pour nous permettre de compter les voisins :
- TotalNeighbours + = this.active_array [row -1][col — 1]
- TotalNeighbours + = this.active_array [row -1][col]
- TotalNeighbours + = this.active_array [row -1][col +1]
Une rangée mise vers le bas :
- TotalNeighbours + = this.active_array [row -1][col — 1]
- TotalNeighbours + = this.active_array [ligne +][col]
- TotalNeighbours + = this.active_array [row -1][col +1]
Et enfin sur la même ligne
- TotalNeighbours + = this.active_array [row -1][col — 1]
- TotalNeighbours + = this.active_array [row -1][col+1]
Gérer les exceptions
Pour gérer les exceptions comme les longueurs de tableaux, nous allons implémenter une fonction d’assistance. Vous pouvez utiliser un bloc try-catch. Vous aurez ça :
this.setCellValueHelper = (row, col) => {
    try {
        return this.active_array[row][col];
    }
    catch {
        return 0;
     }
};
this.countNeighbours = (row, col) => {
    let total_neighbours = 0;
    total_neighbours += this.setCellValueHelper(row - 1, col - 1);
    total_neighbours += this.setCellValueHelper(row - 1, col);
    total_neighbours += this.setCellValueHelper(row - 1, col + 1);
    total_neighbours += this.setCellValueHelper(row, col - 1);
    total_neighbours += this.setCellValueHelper(row, col + 1);
    total_neighbours += this.setCellValueHelper(row + 1, col - 1);
    total_neighbours += this.setCellValueHelper(row + 1, col);
    total_neighbours += this.setCellValueHelper(row + 1, col + 1);
    return total_neighbours;
};
Configuration du jeu
Nous allons mettre deux fonctions supplémentaires pour la configuration :
this.gameSetUp = () => {
    this.arrayInitialization();
} ;
this.runGame = () => {
    this.updateLifeCycle();
    this.fillArray();
} ;
Dans le fichier index.js nous allons créer une instance dans notre classe GameOfLife.
const game = new GameOfLife()
game.gameSetUp()
window.onload = () => {
   document.querySelector("#start-random").addEventListener("click", () => {
       game.arrayRandomize();
       game.fillArray();
       window.setInterval(() => {
           game.runGame();
       }, 300)
    })
  document.querySelector("#stop").addEventListener("click", () => {
       game.gameSetUp();
  })
}
Voici le rendu :
Envie d’en savoir plus, visitez nos cours en ligne sur le site Web xarala.co.